I noticed some rusty spots on a screw of one of the bike racks arms and with winter coming, I decided to dismantle, clean and lubricate the arms. I considered removing the entire bike rack from the van but decided that was too much of a hassle for now.
To remove the arm from the bike rack, keep turning the black knob at the end of the arm, untill it comes off. Make sure the next part, the spring-loaded grip that holds the nike, doesn’t fall off and damages your paint.
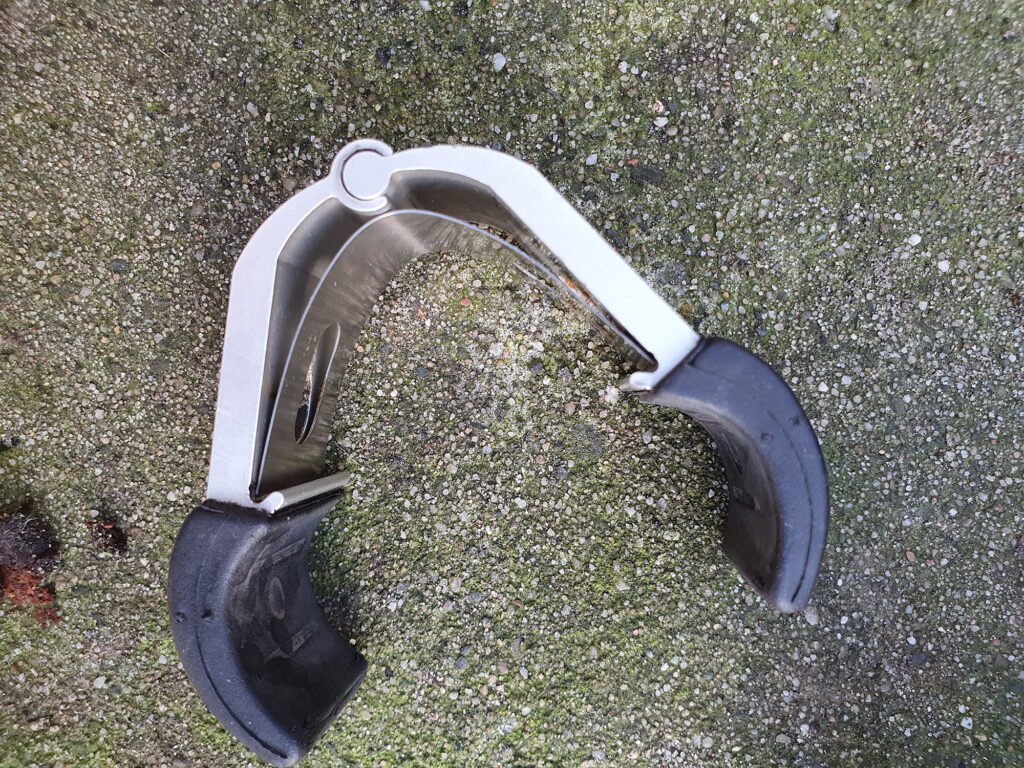
Next, you should be able to remove the screw that holds everything together. Pull it upwards and make sure the tube doesn’t fall out off the arm.
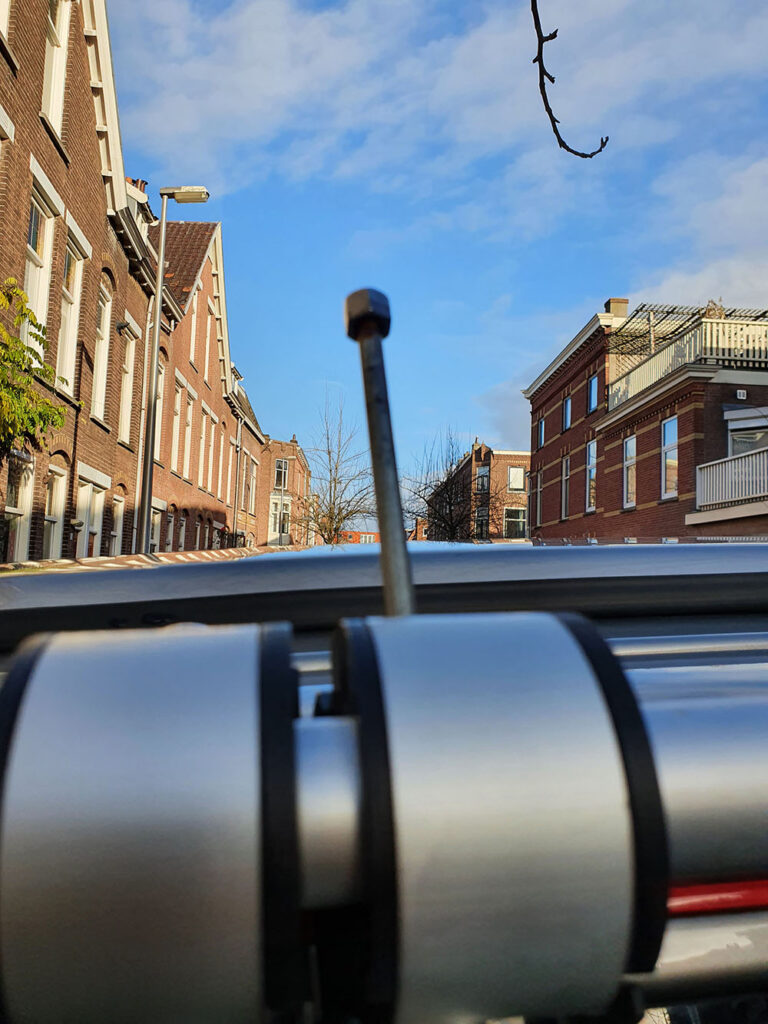
After you have removed the screw, you should be able to wiggle the tube out of the parts that are connected to the rack itself. Keep an eye on the remaing parts, as they can come apart and there’s still one metallic part in place.
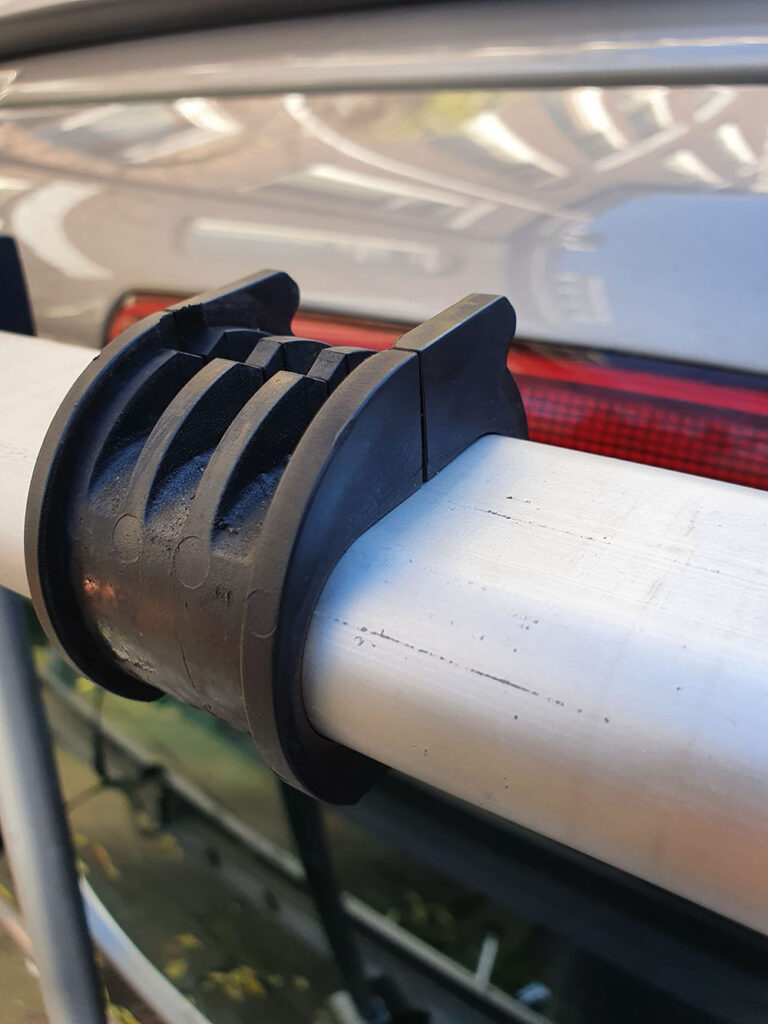
You can now remove the last remaining metallic part and you’ll notice two rubber blocks will come undone. The last two remaing rubber parts wil probably stay in place by themselves.
Cleaning and lubricating the arms
Now that you have removed the arms from the bike rack it’s time to take them apart and clean them. The photo’s below show an arm, completely assembled and disassembled. It’s super easy and very self-explanatory, but photo’s can be useful in case you forget where each part goes.
If you do manage to get things mixxed-up, you can always have a look at these fitting instructions, where each part is shown or have a look at the diagram below.
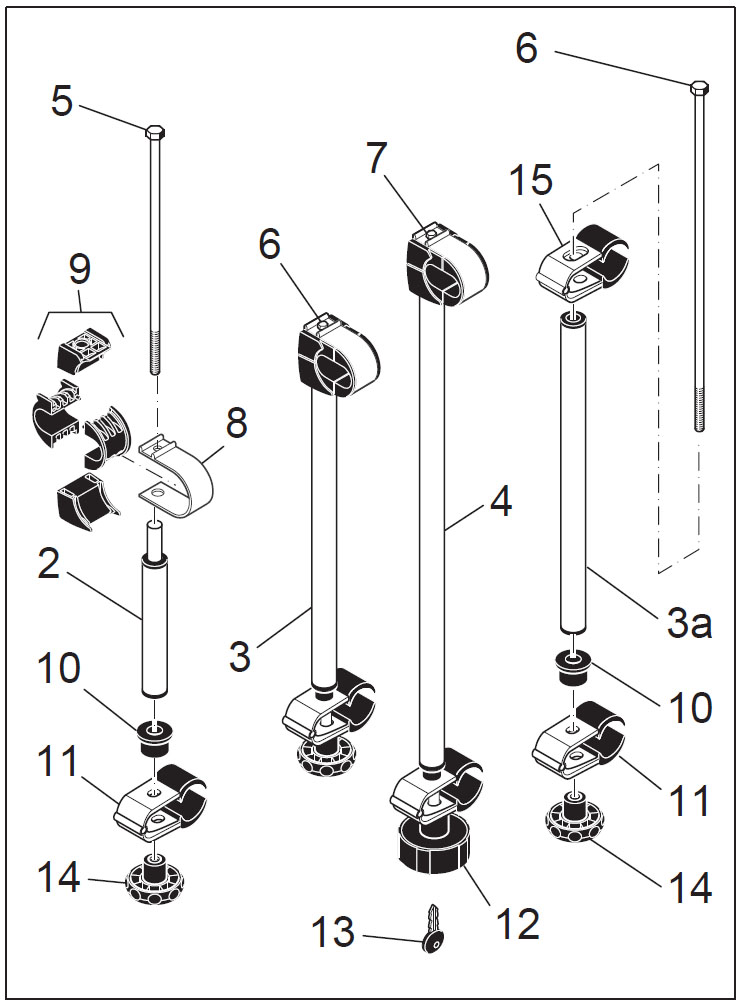


Use some water and a cloth to clean the worst dirt of the different parts and when they are dry, you can apply some WD-40 to the metallic parts, to make everything move smooth again. Re-assemble and connect the arms back to teh bike rack. Always make sure you don’t drop any of the metallic parts, so you don’t damage your Cali’s paint.


Leave a Reply