Being able to use your camper van during the colder months of the year, greatly extends the period you can enjoy it. Skiing holidays, winter camping or just simple stayovers during autumn all add to the fun. There are several solutions that help out with the colder weather, of which the poptop covers are the best known. They are quite expensive but they are well worth the money if you often sleep in the upstairs bed when it’s quite cold outside.
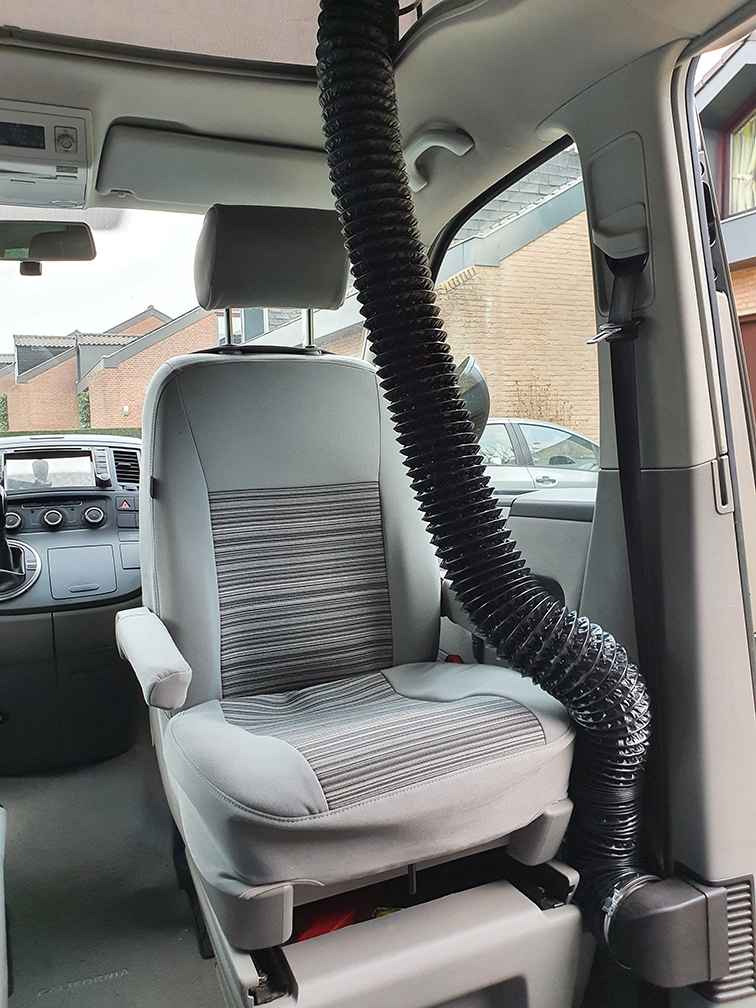
Of course the VW California also has a great auxiliary heater. It works very well in raising the temperature in the van. It doesn’t however really warm the poptop/upstairs bed. Which results in a very noticeable difference in temperature between the lower bed and the upper bed.
On the very useful forums at https://vwcaliforniaclub.com/ there are several examples of people building a DIY solution to redirect heat from the auxiliary heater to the poptop/upstairs bed. Although there are slight differences between the projects, all seem to use a contraption that redirects the hot air that comes out of the B-pillar vent, up to the poptop using ducting hose.
A nice solution that works, is very packable, so doesn’t take up too much space when not in use, and can be made to look quite good if you use the right materials. Of course there’s always someone who invents or takes an idea like this and tries to make it into a commercially viable product. Such as the people at Caliheat.de. They made a nice one! They especially did a nice job on the parts that connect the ducting to the van. And I love the black finish.
However, I figured this should be an easy and affordable DIY-project.
So what do you need?
Ducting hose
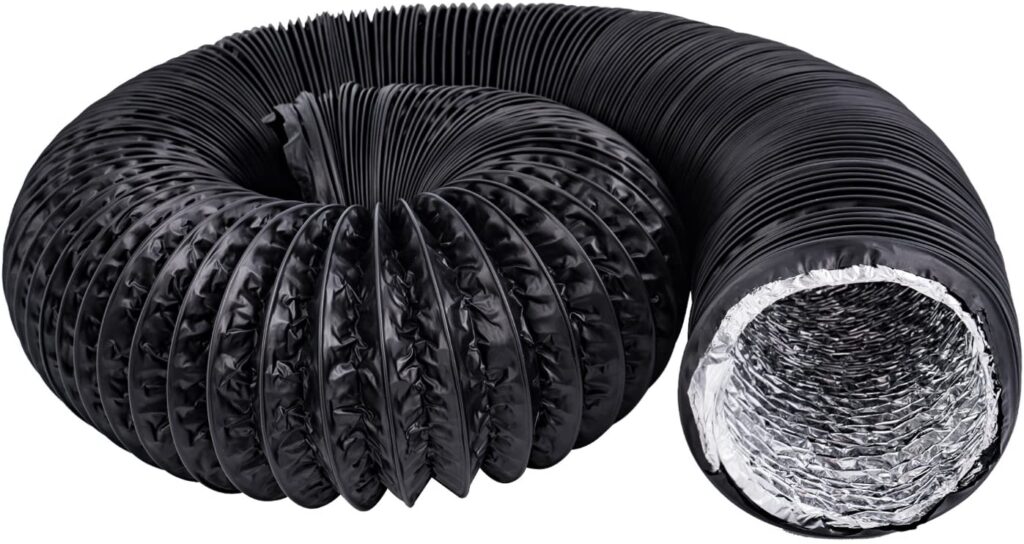
There are several colours available (white, silver, grey) but I felt black had the least DIY-look 😉
Ducting ends
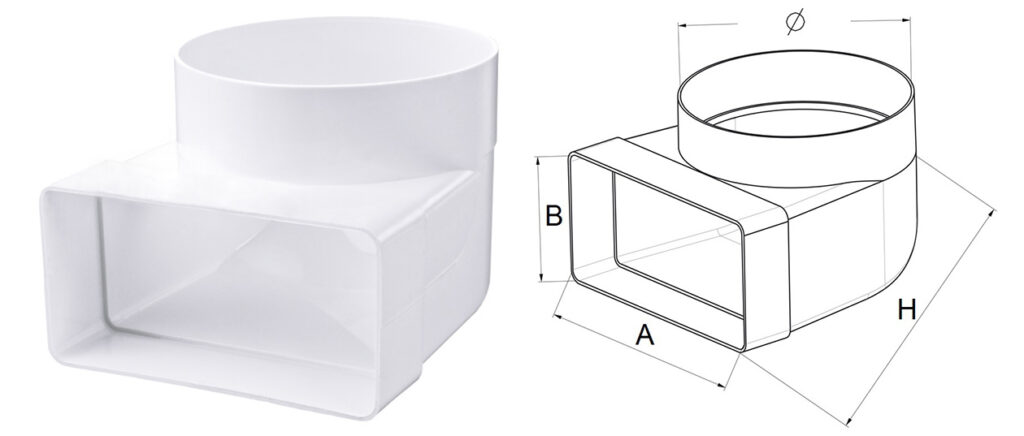
I spray painted mine black, because I feel that makes the whole thing look much less DIY. The 110x55mm version fits well in the vent. It doesn’t fill up the entire vent, so it allows for hot air to also still be distributed to the lower bed.
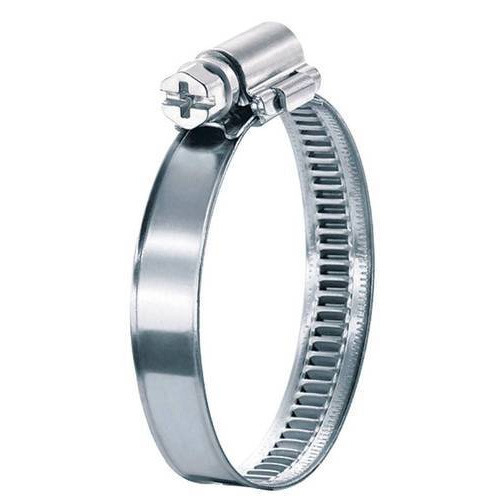
Hose clamps
After you have accumulated the different parts, it’s a rather simple DIY.
Start by cutting the duct end to the right size. Use a box cutter. You need to take of a small edge to make sure it fits into the B-pillar vent. You can easily remove the vent’s cover to see how far the duct end protrudes into the vent. You will see there’s a separator inside the vent which the duct end bumps into. That’s why you need to cut an edge off the duct end.
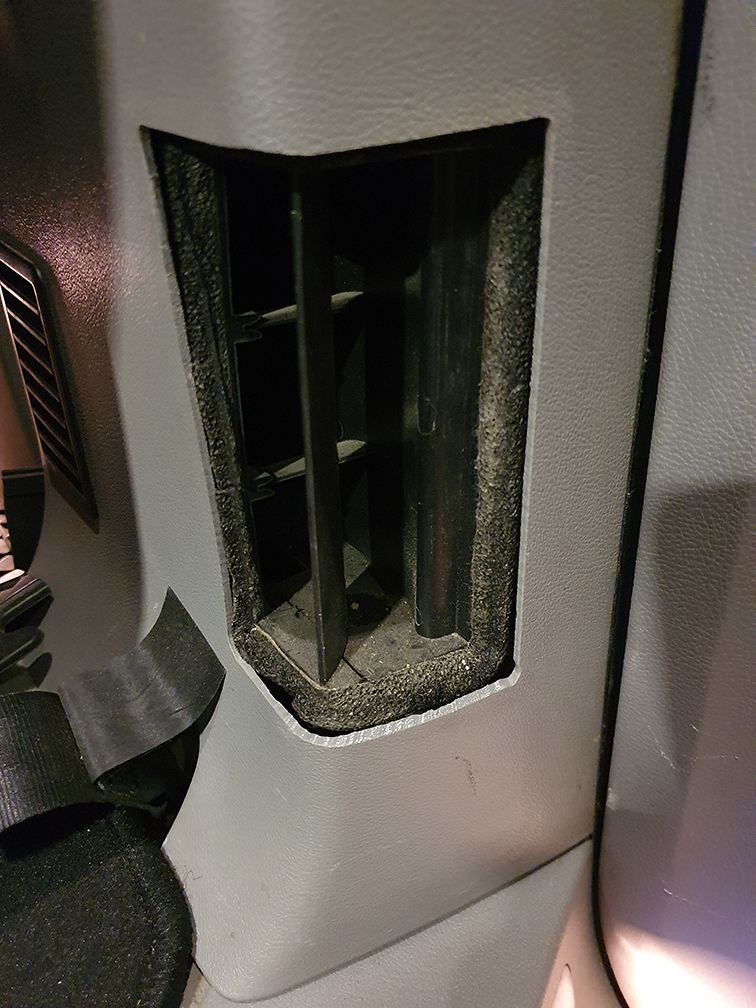
Depending on which duct end you chose, the end might magically stay in place in the vent (especially after a couple of layers of black spray paint), or you might have to add some thickness to make it stay in place.
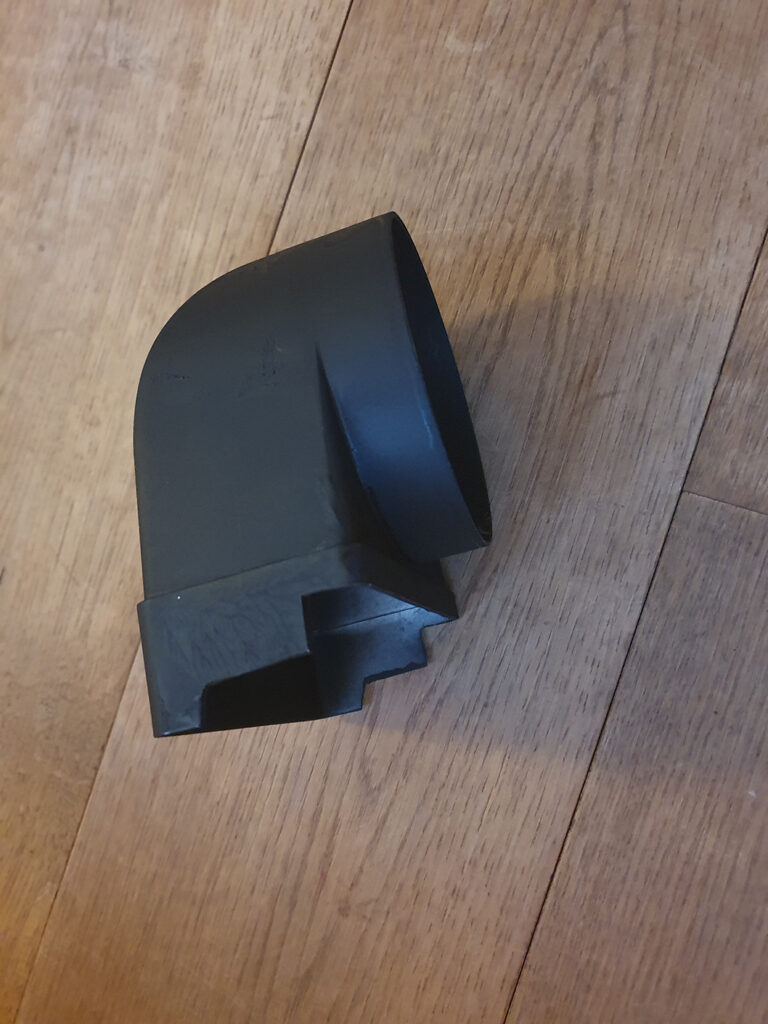
Connect the ducting hose to the duct end and fasten it in place by using either a hose clamp or a (black) tie-wrap. Hose clamps are hard to find in black (expensive). Tie wraps are readily available in black, but a hose clamp makes it easier to take the contraption apart if you would want to be able to for storage for example.
Connect the remaining duct end to the other side of the ducting hose and you’re done.
There is several different options to connect the end of the hose in the poptop. Some people use suction cups, others connect it to the safteynet clips that are in the poptop’s ceiling. I chose to use a simple rubber band to connect it to one of the zippers of the canvas panorama window.
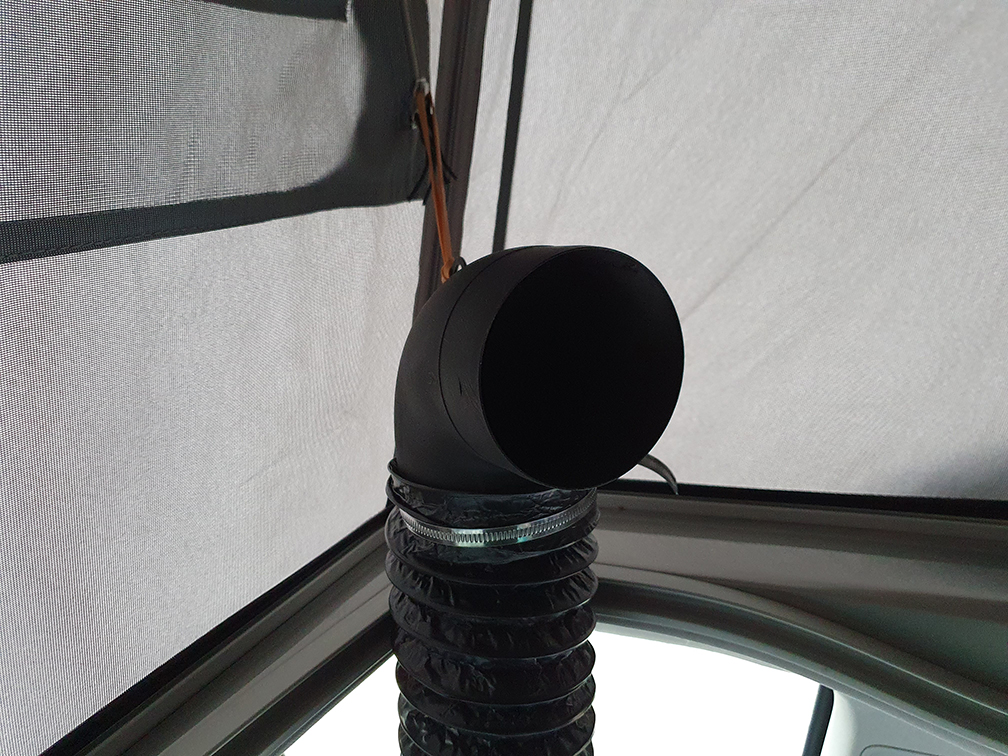
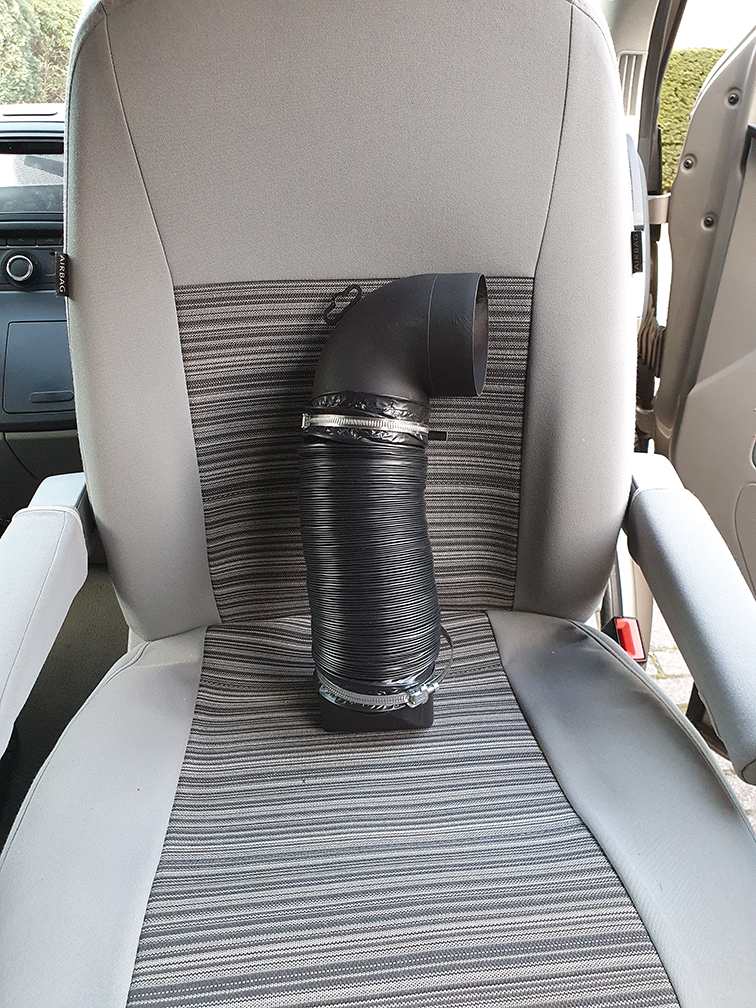
The entire thing takes up little room when folded in, so it can be easily packed away, as you can see in the photo shown below.
Measuring the temperature in the pop top
What none of the people doing this DIY seem to have done so far is measure how much warmth actually goes up into the poptop. The people at Caliheat.de claim that around 30% of the warmth produced by the auxiliary heater is transferred to the poptop. The temperature in the poptop obviously depends on the setting you choose for the auxiliary heater, the amount of hot air being transferred upstairs and the loss of heat through the poptop canvas. And then there’s warm air from the lower bed rising up. All of this doesn’t really matter, because we can just take a thermometer and measure the temperature in the poptop with and without the ducting hose solution in place.
I used my 6 euro bluetooth thermometer to do a small test. I placed it in the middle of the upper mattress. Closed all the doors. Obviously had the poptop up. And started the heater at setting 7. I let it run for 25 minutes. Did the same procedure a second time, but with the ducting hose in place.
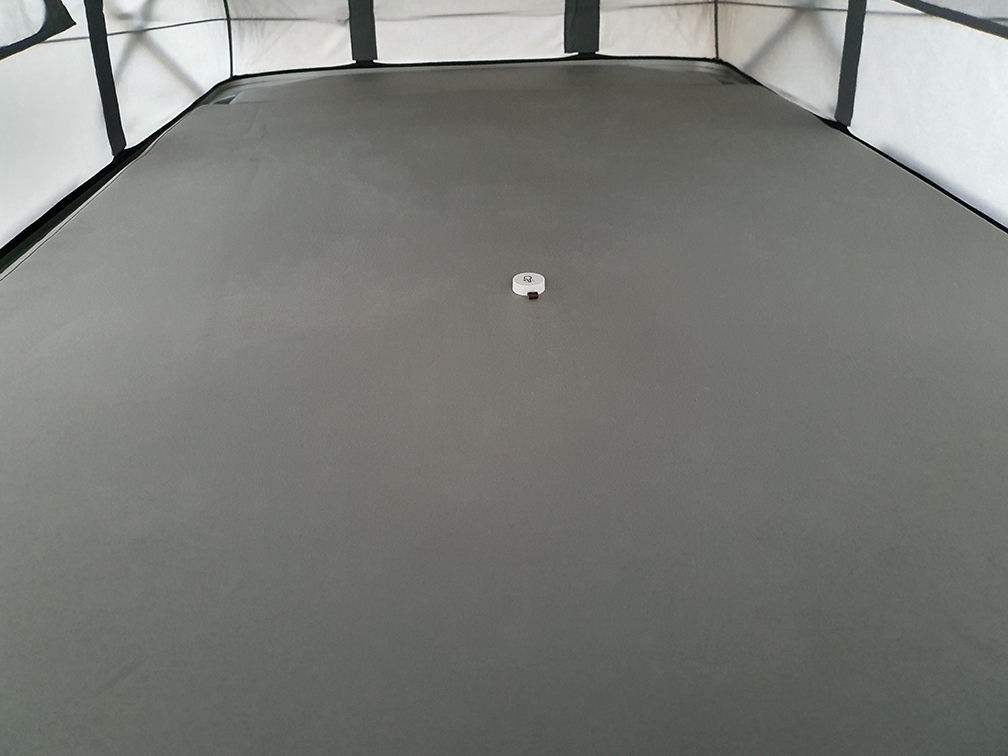
The results:
Without the ducting hose the temperature rose from 3.5 degrees C to 11 degrees C in 25 minutes.
With the ducting hose in place the temperature rose from 3.5 degrees C to 16 degrees C in 25 minutes.
In my opinion that’s a very significant difference.

Leave a Reply